

Getting Started with SmartForge
SmartForge is an AI-powered intelligent platform that allows you to connect to enterprise systems, add and manage your business logic, and interact with your data using simple, natural language. You can trigger business workflows, retrieve insights, and leverage AI-powered analysis through easy, conversational commands—making complex operations simple and accessible.
Prerequisites
Section titled “Prerequisites”Before getting started, make sure you have:
- A valid account (SSO / Email login)
- A Git repository URL for your functions (your tool catalog)
- A Personal Access Token (PAT) with repo access (if required by your Git provider)
What you will accomplish in this guide
Section titled “What you will accomplish in this guide”By the end, you will have:
- A SmartForge Studio project connected to your Git repository
- A working connection + credentials for a target system/environment (Dev/QA/Prod)
- At least one function you can run in Dev Console (with validated inputs/outputs)
- An Eval run that checks tool-calling readiness
- A verified run in Secure Chat
- (Optional) An MCP server you can export and use in an external client
What is a function in SmartForge Studio?
Section titled “What is a function in SmartForge Studio?”A function is a named, documented capability that tells SmartForge what your enterprise system can do. Think of it as a card that says: “Here’s what this action is called, what it needs as input, and what it returns.”
Your functions live in a Git repository — that’s what you’ll set up next. Once connected, SmartForge can discover and call them through natural language in Secure Chat.
Prepare your functions repository
Section titled “Prepare your functions repository”Before adding a project in SmartForge Studio, set up a Git repository to store your functions.
Quick Setup
Section titled “Quick Setup”- Create a new Git repository in your Git provider (Azure DevOps, GitHub, etc.). The repository name can be anything.
- Push an initial commit (for example, a
README.md) so SmartForge Studio can clone the repo. - Copy the repository URL - you’ll paste it when you create your project in SmartForge Studio.
Access the Portal
Section titled “Access the Portal”Go to your SmartForge address: https://<SERVER_NAME>, the domain set as SERVER_NAME during Installation (for example https://ai-apps.domain-name.com).
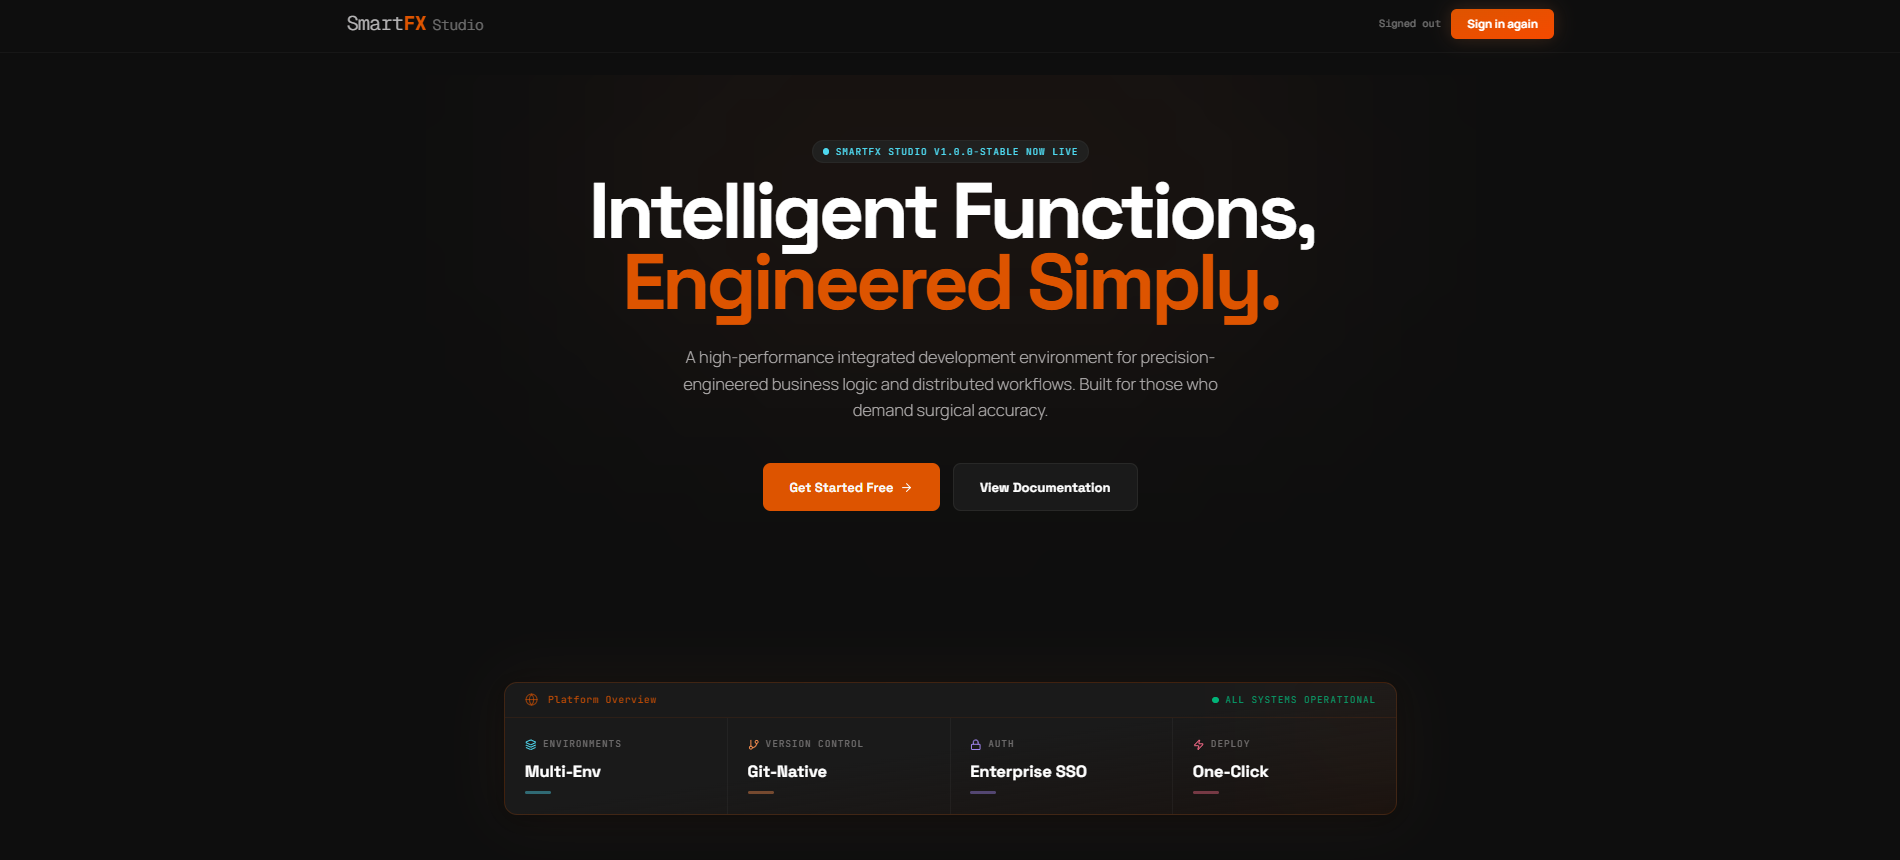
Click Get Started Free or Sign In.
Sign In
Section titled “Sign In”Login using:
- Email and Password
- Microsoft
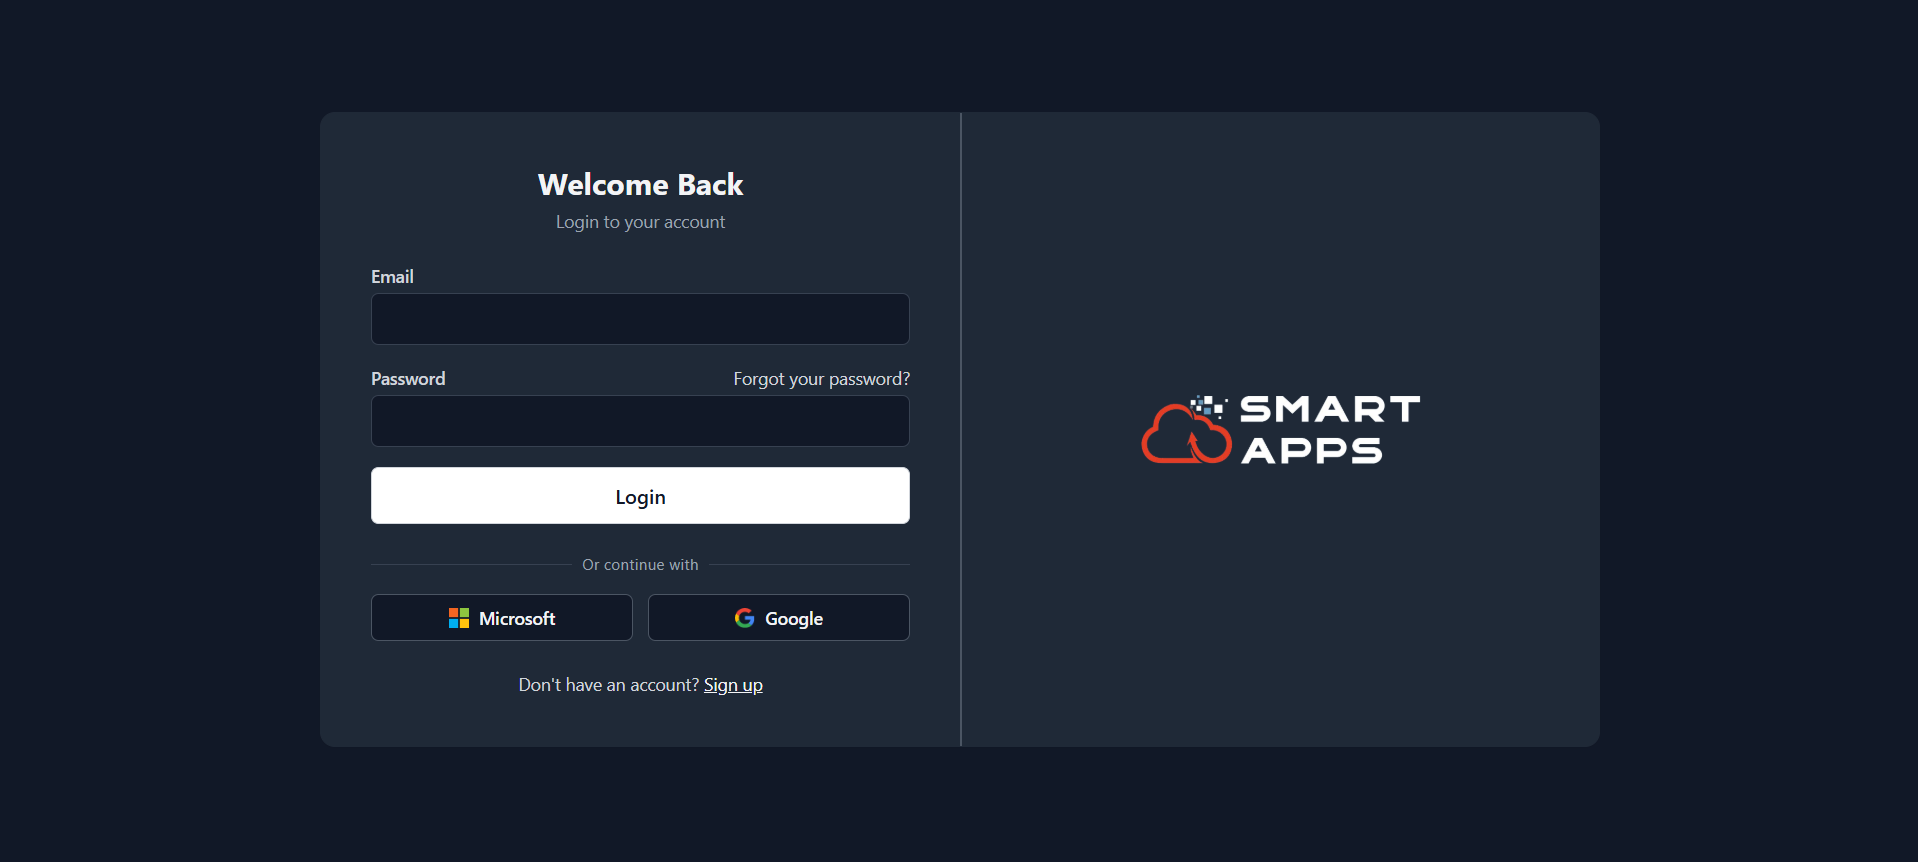
Create Your Project/Repository
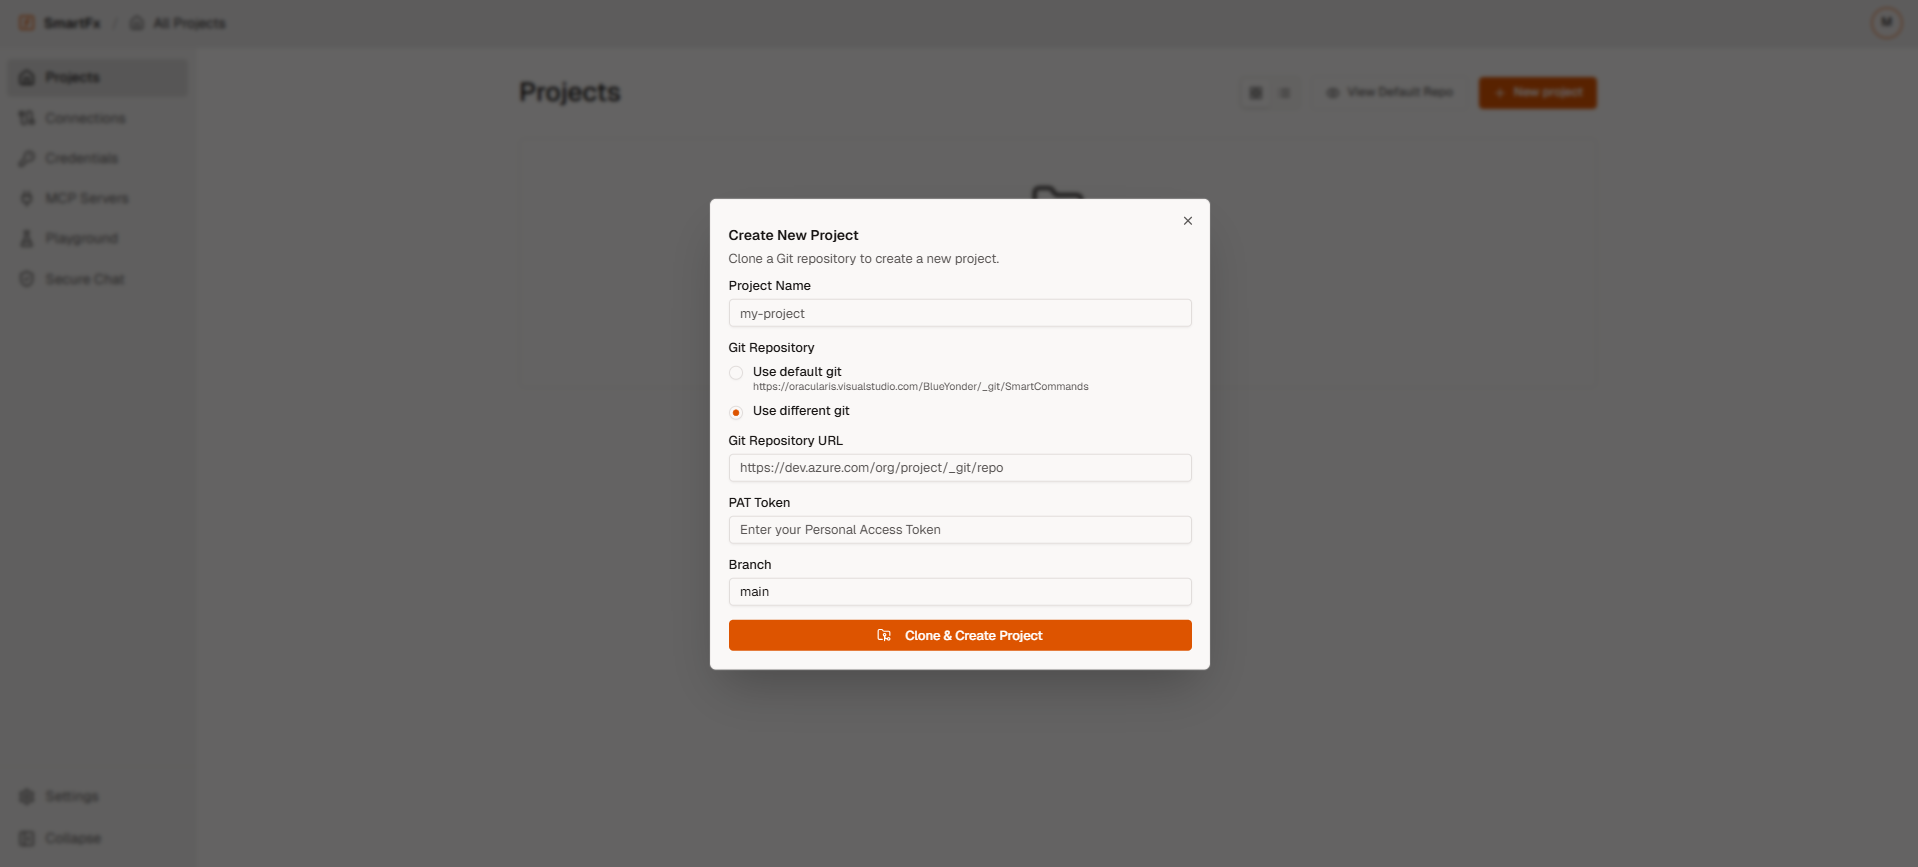
Section titled “Create Your Project/Repository”A project connects SmartForge Studio to your Git repository — this is where your functions live, get versioned, and become available across SmartForge Cortex, Eval, and MCP. Once linked, any changes you push to the repo are automatically reflected in the platform.
After logging in, fill in your:
- Project Name
- Repository Link
- Personal Access Token (PAT)
Then click Clone & Create Project.
View Your Projects
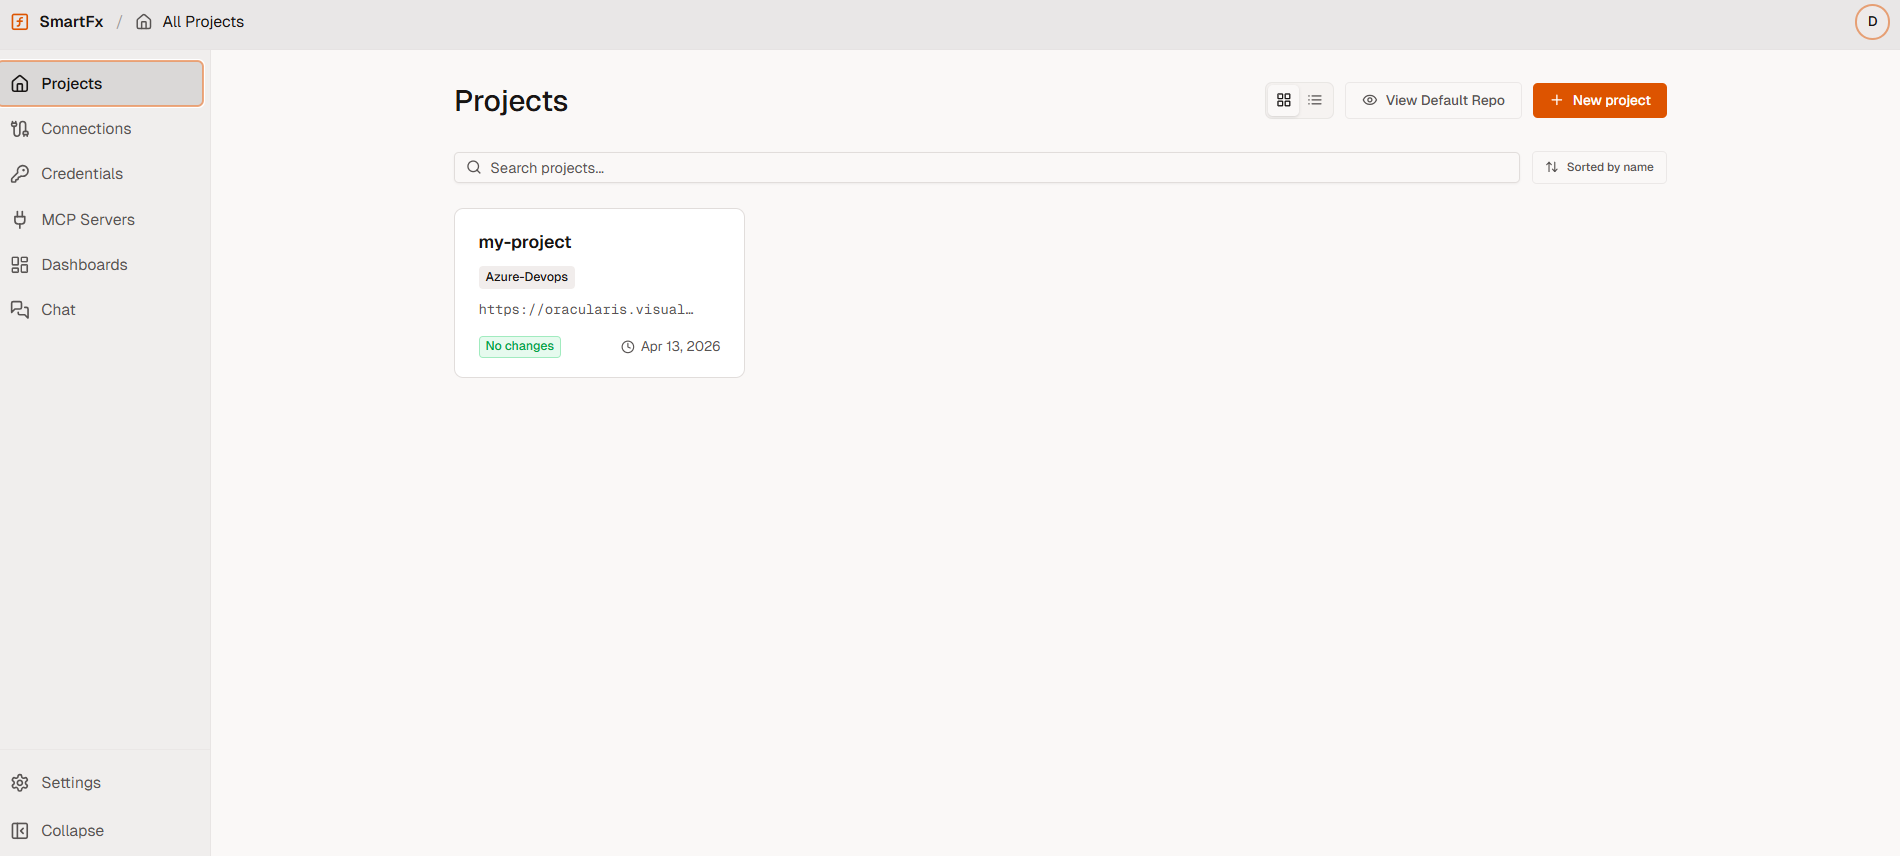
Section titled “View Your Projects”After creating your project, you will be taken to the Projects section.
Here, you will see a list of all your projects.
- Locate your project in the list
- Double-click on the project to open it
Work Inside Your Project
Section titled “Work Inside Your Project”Once you open a project, the Project Workspace appears. Work through the sections below in order — each one builds on the last.
Connections Setup
Section titled “Connections Setup”A connection tells SmartForge where to send requests and how to authenticate for a given environment (Dev, QA, or Prod). Each function must be linked to one so it knows which system and environment to run against.
If a connection for your system/environment already exists, you can reuse it. Otherwise:
-
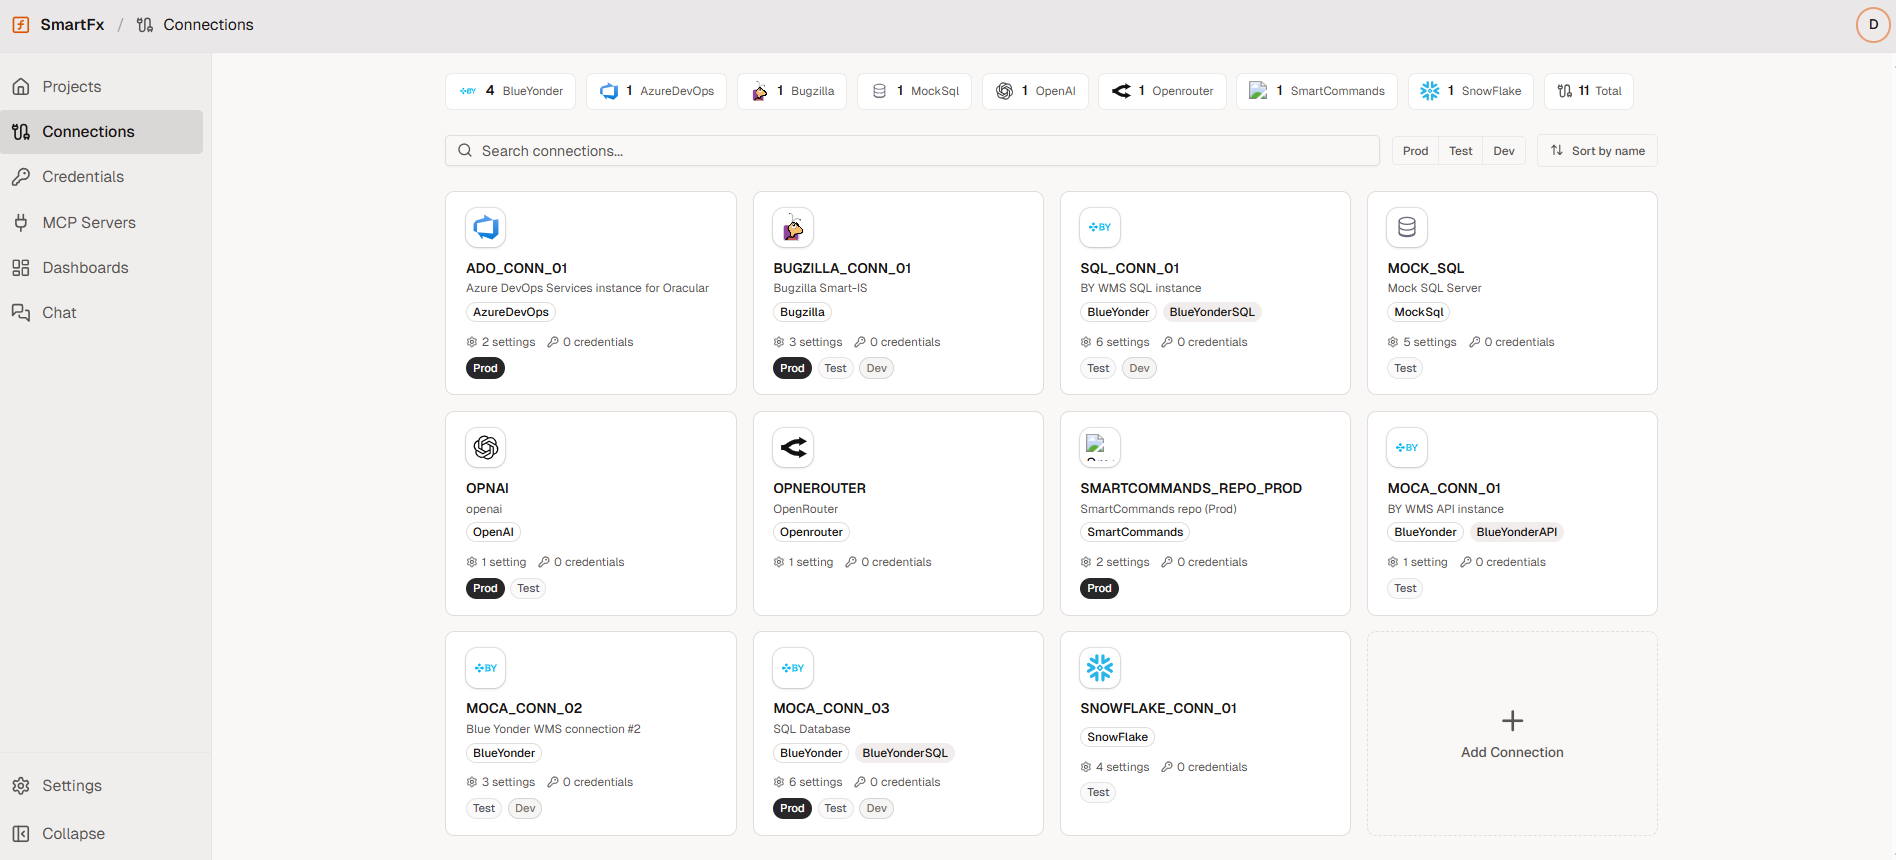
Go to Connections → New Connection
You will see the main Connections overview page.
-
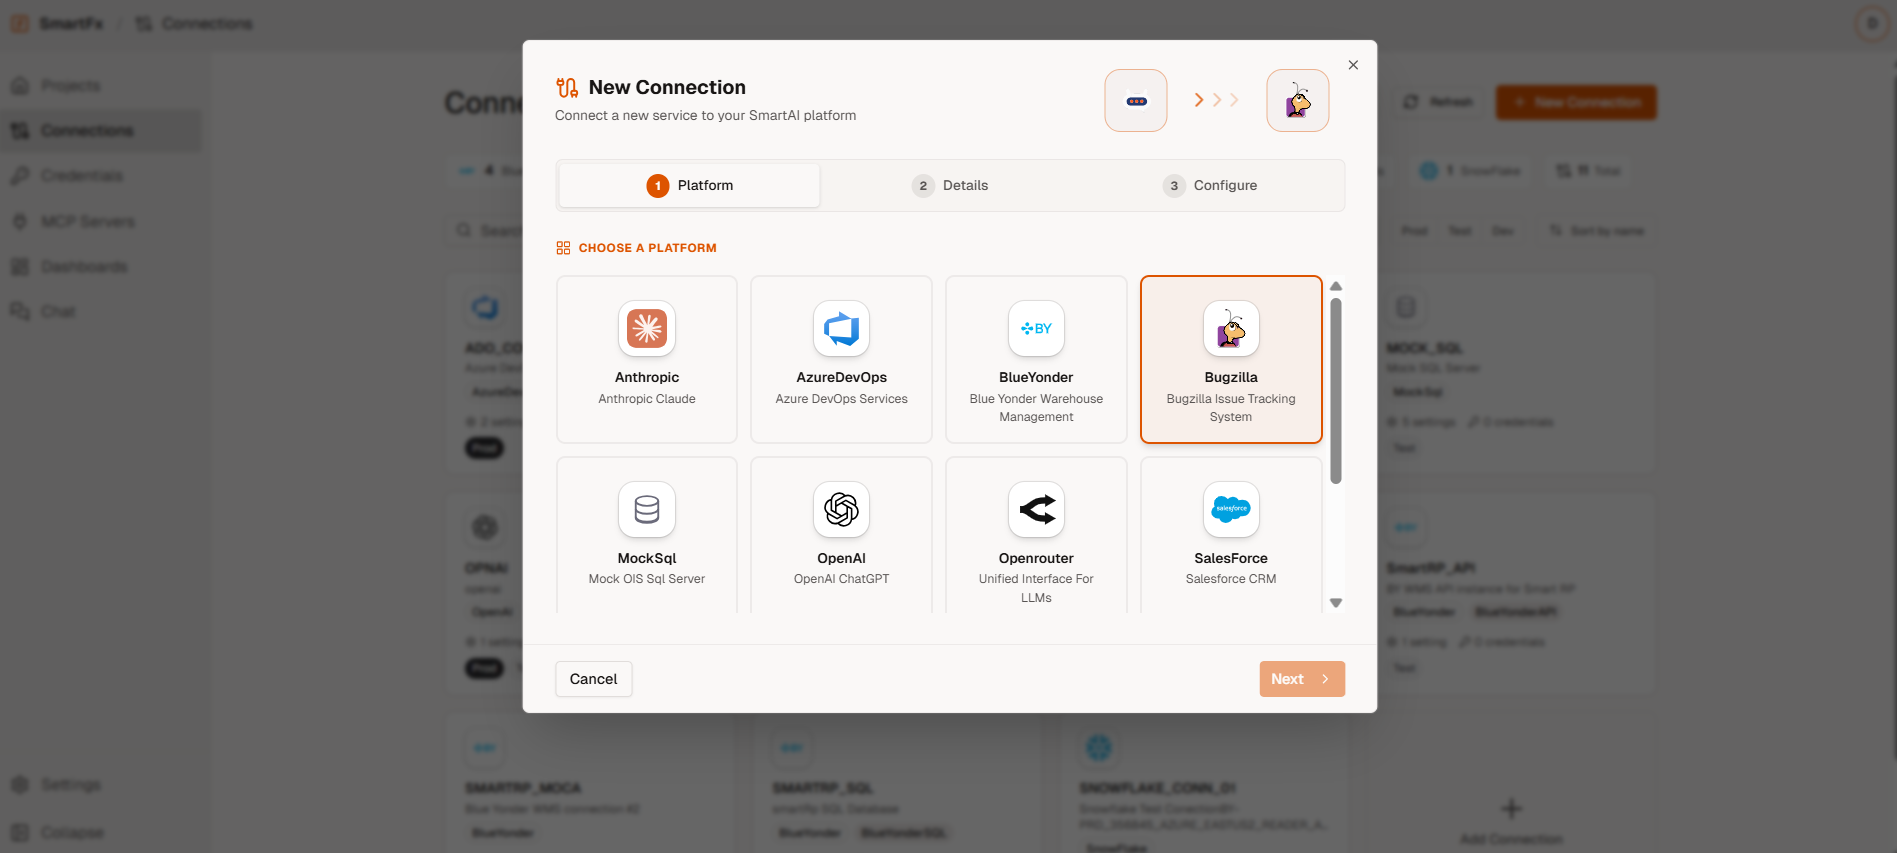
Select the target system/platform from the available list
-
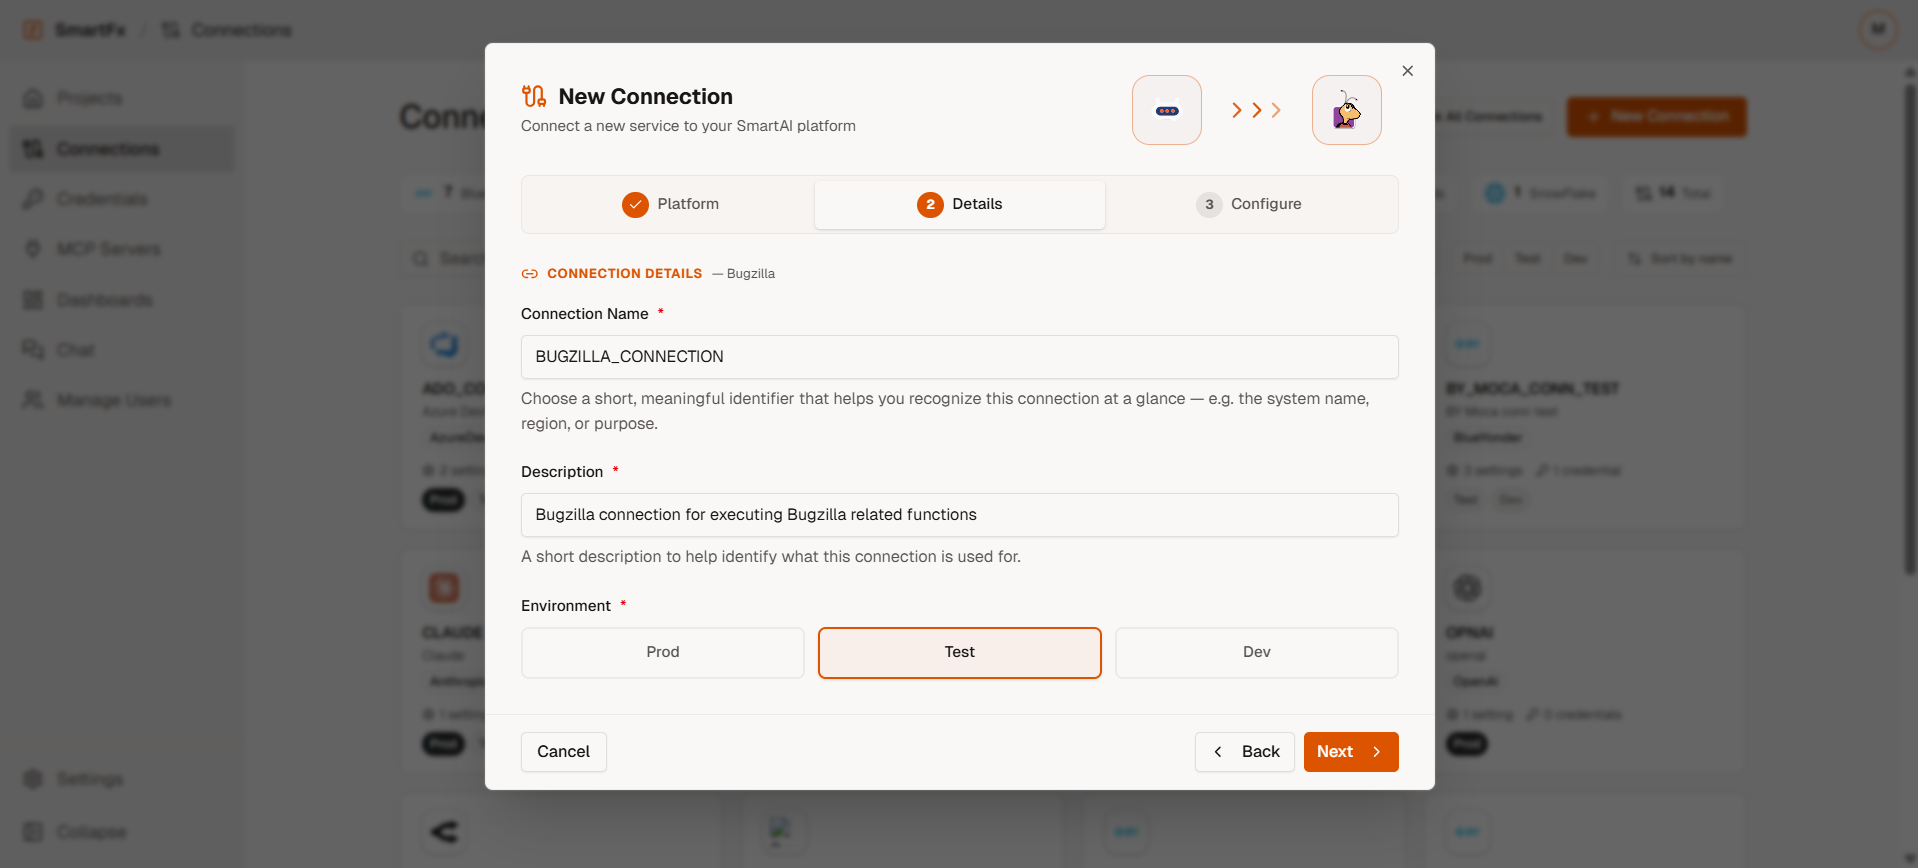
Provide basic details:
- Connection Name (e.g.,
BUGZILLA_CONN_1) - Environment (Dev / QA / Prod)
- Connection Name (e.g.,
-
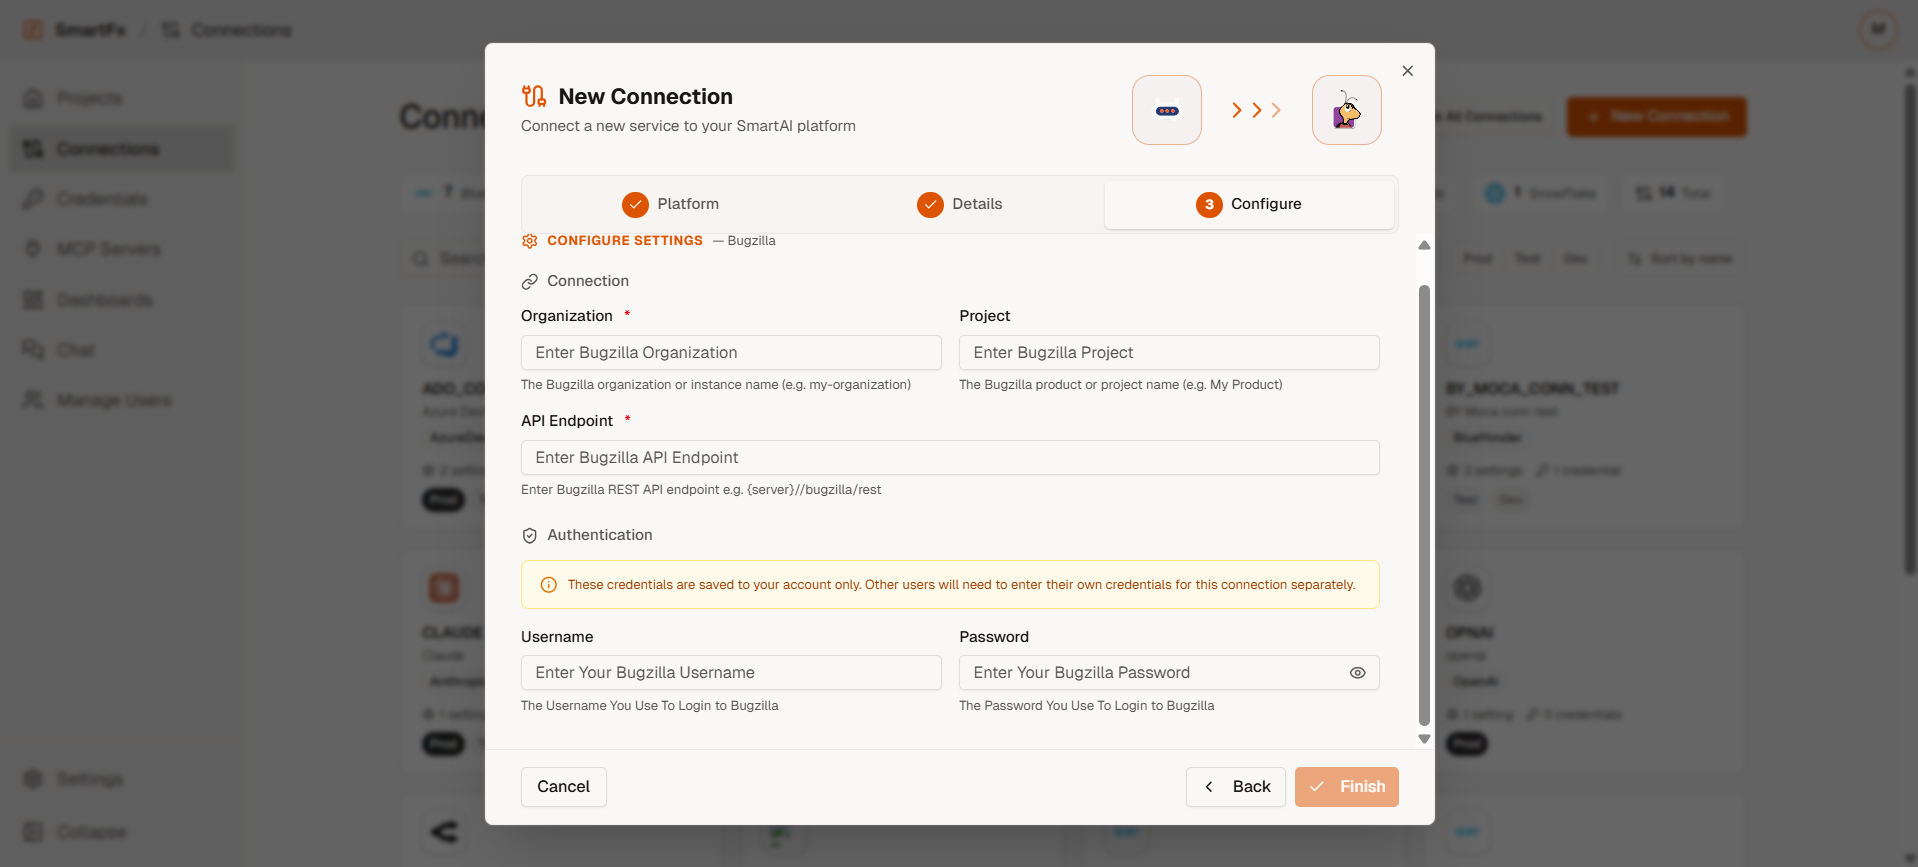
Configure system-specific settings:
- Base URL / Endpoint
- Authentication type (API Key, OAuth, etc.)
- Any required headers or config fields
-
Save the connection
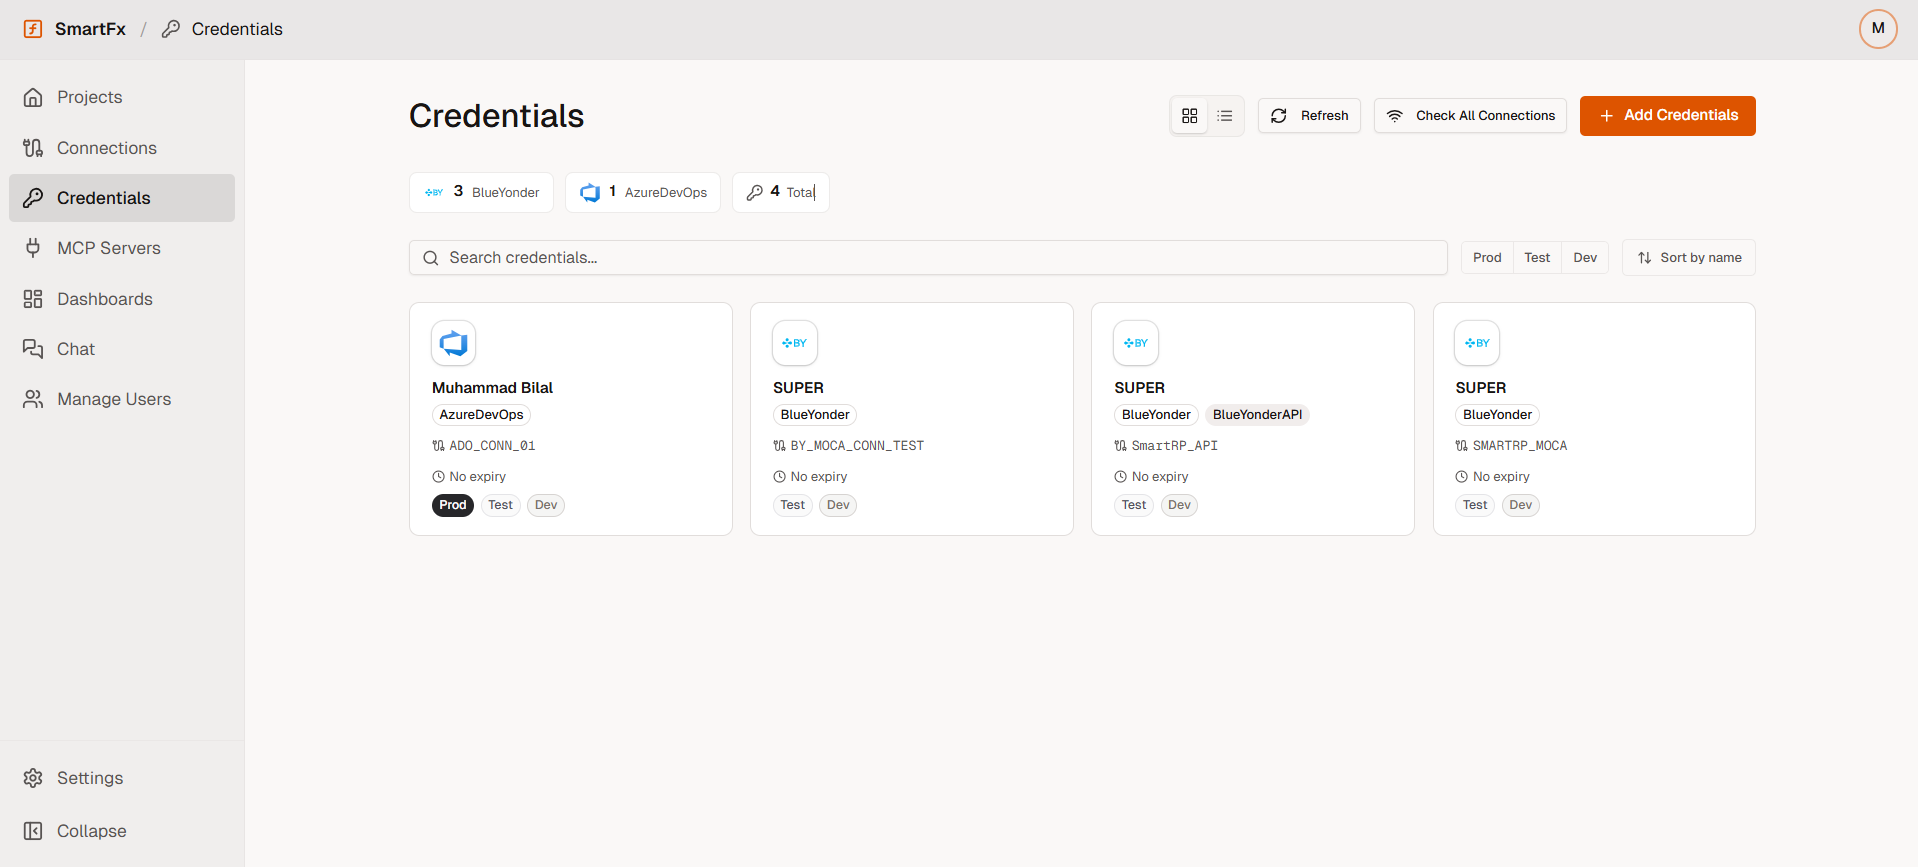
Add credentials to your connection
Section titled “Add credentials to your connection”Connections define where to connect. Credentials define how to securely access it.
Credentials are stored securely in the platform and never committed to your Git repository.
-
Go to Credentials → Add Credentials
You will see the credentials management overview page.
-
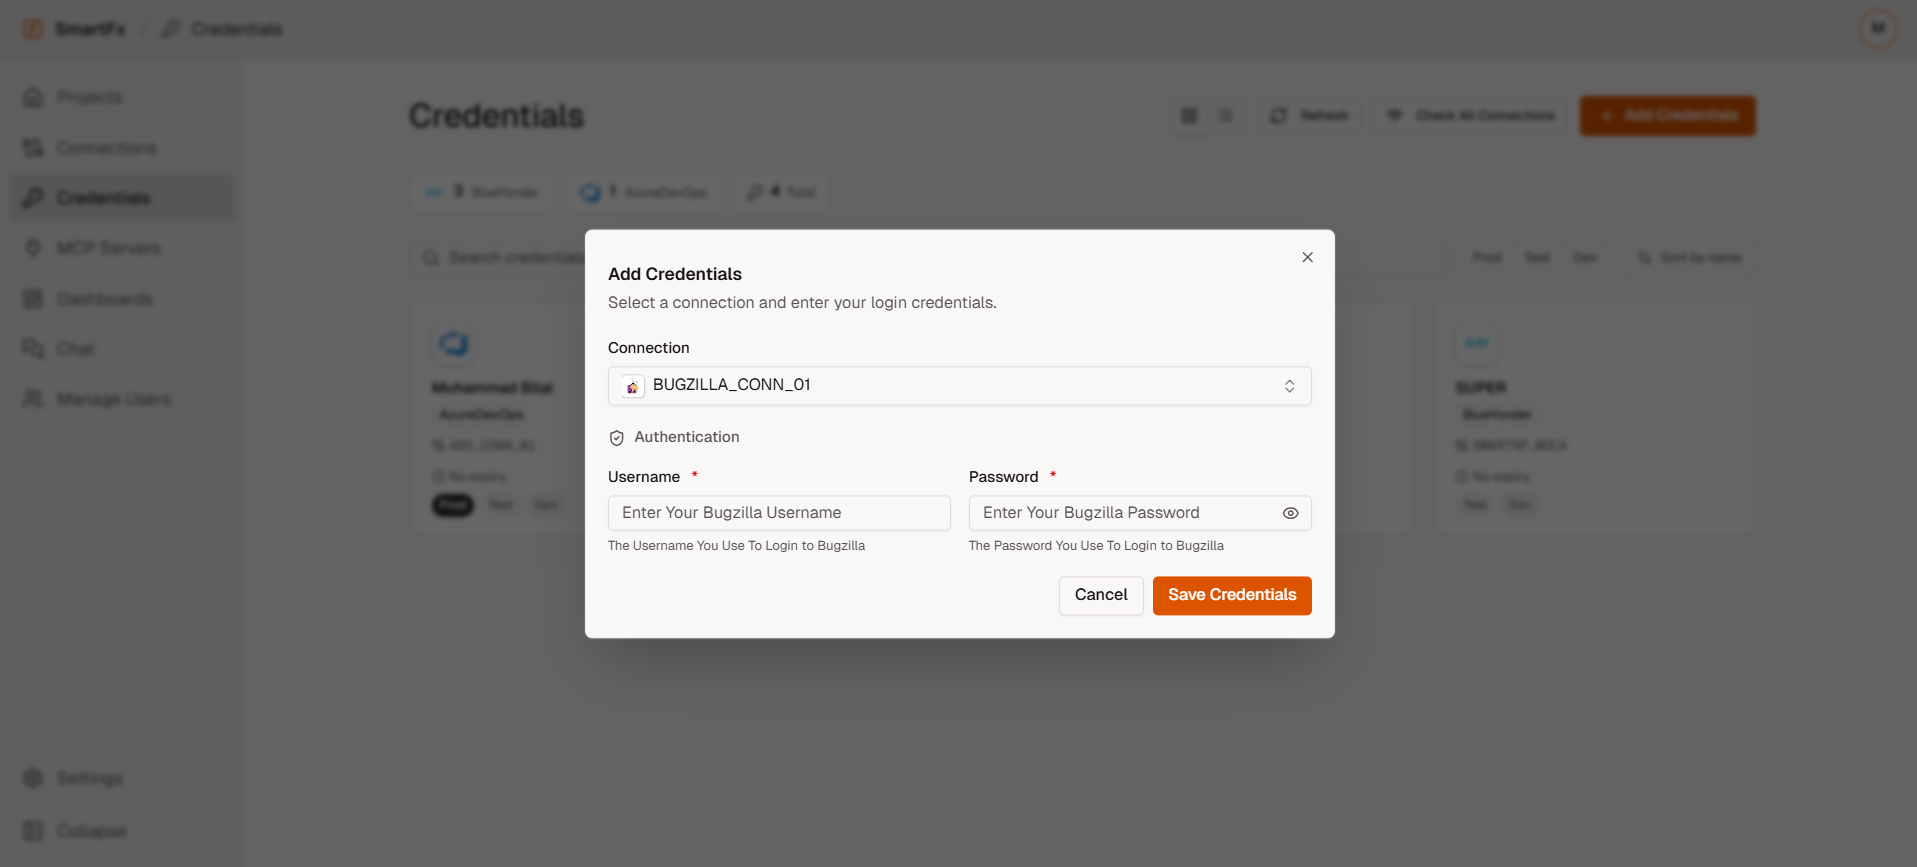
Select your existing connection from the dropdown list
- Enter authentication details:
- API Keys / Tokens
- Username / Password
- OAuth configuration (if applicable)
- Enter authentication details:
-
Save credentials
Configure Your Project Workspace
Section titled “Configure Your Project Workspace”1. Code Editor
Section titled “1. Code Editor”A function is an enterprise intent — a named, documented capability that tells the AI what your system can do and how to do it. Each function includes a plain-English description, defined inputs, and defined outputs.
SmartForge Studio provides an integrated environment to define, document, and publish these intents, regardless of implementation. Under the hood, functions are built using Python, SQL, or MOCA.
All functions are stored in your Git repository, giving you version control, pull requests, rollback, and auditability out of the box.
To create or edit a function:
- In the Code Editor, create a new function or open an existing one
- In the top-right Implementation dropdown, select your system connection (this binds the function to that environment)
- Fill in Meta: a clear description, tags, and input/output definitions
- Add the code logic for what your function will do in the code section.
- Save → add a commit message → push to your repository (create a PR if your workflow requires it)
- Run the function in Dev Console with real parameters to confirm it works
Walk through creating a function in the Code Editor, binding it to a connection, filling in Meta, testing via Dev Console, and pushing it to your repository.
2. Tags
Section titled “2. Tags”Tags help SmartForge choose the right function when similar tools exist, preventing misrouting (like returning shipping data for an orders query). They also create a consistent shared vocabulary as your catalog grows.
In the Tags section, you can:
- Create categories, subcategories, and topics
- Edit or delete tags
- Activate or deactivate them
Every function, domain, and collection supports this tagging framework, making it straightforward to manage and discover objects across your entire catalog as it grows.
See below how to create tag categories and assign them to functions to improve tool discovery and AI routing accuracy.
3. Input & Output Collections
Section titled “3. Input & Output Collections”Collections let you define reusable input and output schemas once and share them across functions, improving consistency and eliminating duplication. Updates happen in one place, making changes easier to manage.
Learn how to define a reusable input or output schema once and reference it across multiple functions.
Here you can:
- Create new collections
- Edit existing ones
- Delete collections
Use collections to reuse consistent argument/response groups across many functions (for example, a shared order_id input definition or a common “order header” output shape).
4. Domains
Section titled “4. Domains”Domains are your enterprise shared vocabulary — the same way humans think about orders, waves, inventory, and statuses. They define standard field types, validation rules, allowed values, and descriptions used across your system, ensuring fields like customer_id behave consistently in every function, report, and dashboard.
Domains also support enums — predefined lists of allowed values — allowing users to query and filter using natural terms instead of system codes.
Set up shared field definitions — including enums — so that field types and allowed values stay consistent across all your functions.
In the Domains section, you can:
- View all existing domains
- Add new domains
- Delete domains
- Import domains using a .json file
Domains help you standardize field definitions across tools (type, required/optional, allowed values, descriptions). This improves consistency and makes downstream charts/dashboards more reliable.
5. Evaluate your Function
Section titled “5. Evaluate your Function”Eval validates that your functions will be correctly identified and called by AI models. It simulates real-world tool selection under load, detects overlapping descriptions, missing arguments and ambiguous definitions before users encounter them. This is the final quality check before deploying functions to production chat.
Watch a full evaluation run: selecting functions, reviewing AI-generated test questions, and reading the scored results report.
Evaluation Steps
Section titled “Evaluation Steps”-
Select the system you want to evaluate (e.g., Enterprise)
-
Click Create Evaluation to start. New or updated functions are highlighted automatically
-
Select one or more functions to evaluate (all system functions are included during testing to detect overlaps)
-
The AI generates 10 natural language test questions per function and attempts to call them using your full function catalog
-
Review results scored on: - Function selection accuracy (50%) - Required input extraction (30%) - Optional input usage (20%)
Reports include full request/response traces and are saved as JSON + PDF in your repository.
Evaluation runs on the server, so you can safely leave and return later.
6. Try It & Live Test
Section titled “6. Try It & Live Test”Try It and Live Test help validate your functions and connector behavior before production deployment. These modes allow you to test individual functions directly and verify real-time AI orchestration using natural language interactions.
Watch a full testing workflow: invoking functions in Try It mode, interacting with the LLM in Live Test mode, and validating real-time connector responses.
Try It Mode
Section titled “Try It Mode”Use Try It mode to connect directly to the connector and test the functions you have already created before deployment.
From here, you can:
- Invoke any specific function individually
- Validate request and response behavior
- Inspect returned results immediately
- Verify authentication and connector integration
- Test function inputs and output structure
This mode is useful during development when validating that functions behave correctly before exposing them to the LLM.
Live Test Mode
Section titled “Live Test Mode”Use Live Test mode to interact with the LLM in real time using your connected functions.
It creates a temporary MCP session in Test mode to validate your functions in an isolated environment.
This simulates a real production conversation where the model automatically selects and invokes the appropriate function based on natural language queries.
For example, you can ask:
- “Show me work items”
- “Get open tickets assigned to me”
- “Fetch shipment details for order 1024”
The system automatically identifies the correct function, executes it against the live connector, and returns real-time results.
This helps validate:
- End-to-end orchestration
- Function selection accuracy
- Real-time connector behavior
- Natural language interaction flow
- Live response handling
Both testing modes run directly against connected systems, allowing you to safely validate function behavior and integrations before committing changes.
Configure MCP Server for Your Functions (optional)
Section titled “Configure MCP Server for Your Functions (optional)”MCP (Model Context Protocol) allows your business functions to be used across external systems like Claude, OpenAI, and Copilot.
Demo Walkthrough
Section titled “Demo Walkthrough”See how to generate an MCP Server URL and integrate your functions with external clients like Claude or Copilot.
Configuration steps
Section titled “Configuration steps”- Go to the MCP Servers section and click Generate New MCP Server Link.
- Select your target system (e.g., Enterprise) and enter a Server Name.
- Click Generate Link — the server URL will appear in the right-hand panel.
- Click the link to open the MCP Server Details page, where you can copy the URL and view available tools.
- Use the copied URL to integrate with your external client.
- Click the Export option to see how you can integrate the URL on multiple platform such as Copilot, Claude, OpenAI. More Info on MCP
Secure Chat
Section titled “Secure Chat”SmartForge Cortex is the secure conversational interface of SmartForge, letting you interact with enterprise systems without exposing actual data to the LLM.
- Execute functions, schedule workflows, and analyze data using natural language
- Uses code generation in an isolated environment, sharing only metadata for insights (charts, filtering, etc.)
- Generate and customize live charts, and view the commands invoked for full observability
A live demo of querying a connected enterprise system in natural language and receiving instant results and visualisations.
Example
Section titled “Example”- Open Secure Test
- Connect to a system
- Enter queries such as:
- Show me user information across the enterprise
- Create a pie chart of users across systems
You will receive:
- Instant results
- Visualizations
- Insights
This is the primary way to interact with your system using natural language outside the project configuration.
Dashboard
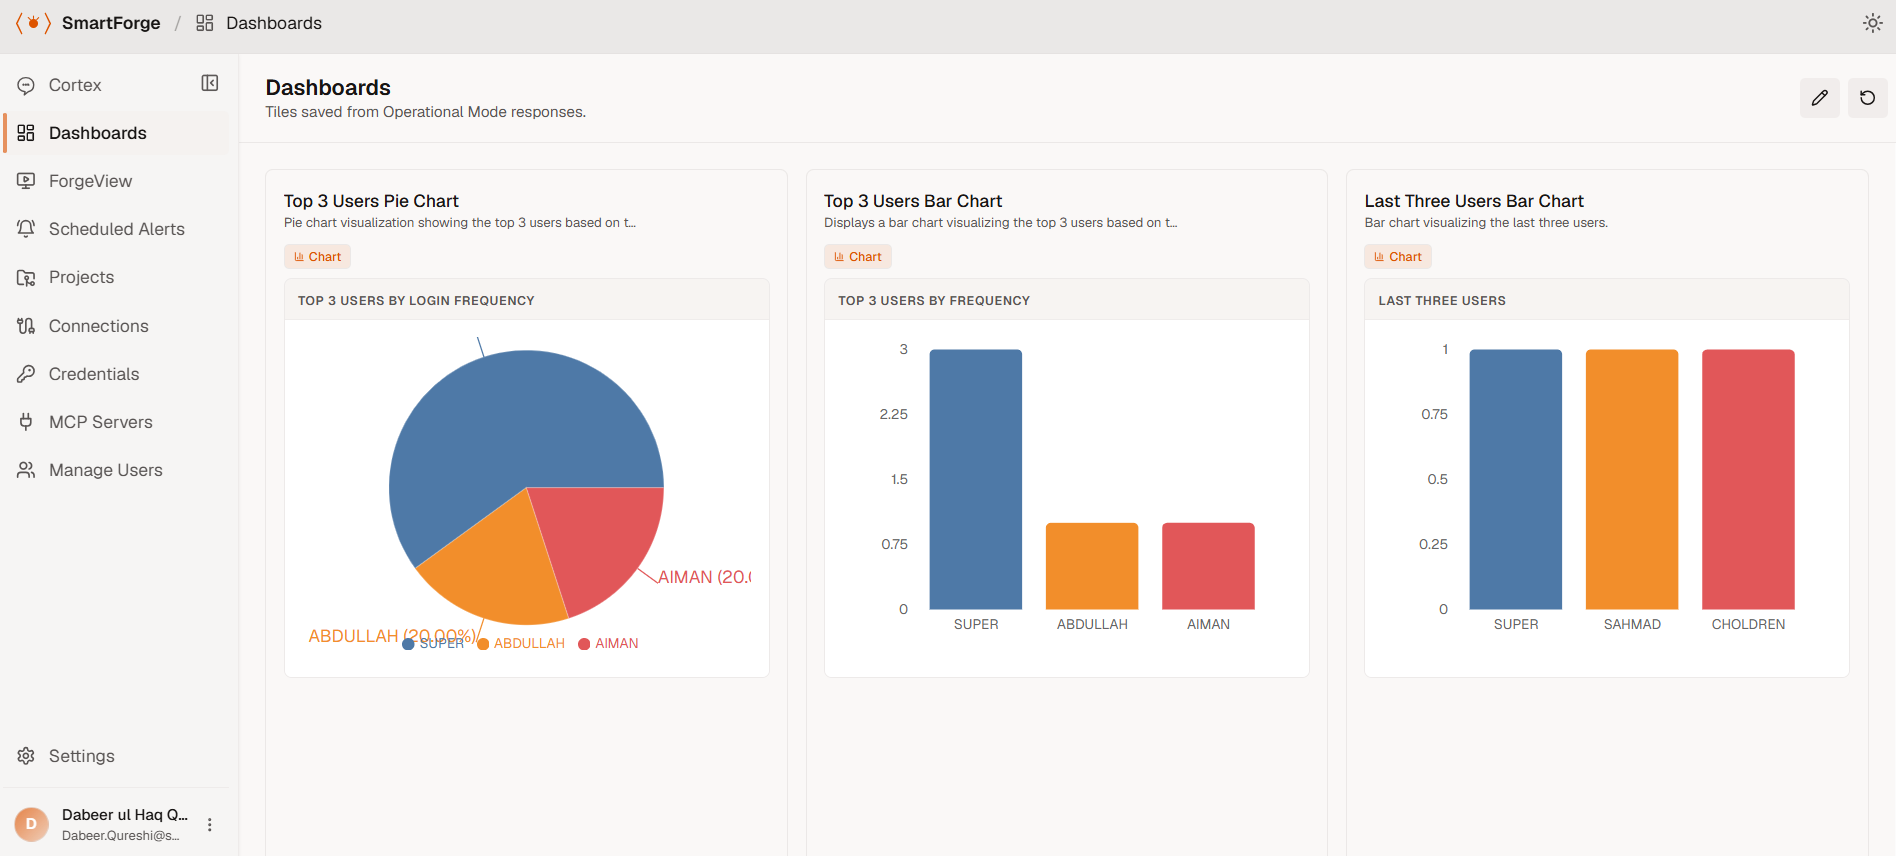
Section titled “Dashboard”The Dashboard feature lets you save and organize charts and visualizations generated through natural language in a single, personalized workspace. Whenever you create a figure, simply write “add to dashboard” or “add this to dashboard”, or click the Add to Dashboard button and provide a title and description. The selected visualization is then saved to your personal dashboard, giving you a centralized place to access, review, and manage all of your important charts and insights without having to recreate them.
Example
Section titled “Example”- Create a chart or figure using natural language in Secure Chat (e.g., “Create a bar chart of top 3 users”)
- Add the chart to your dashboard by typing “add to dashboard” or clicking the button above the figure
- Provide a title and description
- View all your saved charts on the Dashboard page
You can:
- Create various chart types (bar, line, pie, etc.) using natural language
- Add visualizations to your dashboard with simple commands
- View and manage all your charts in one centralized location
Scheduled Alerts
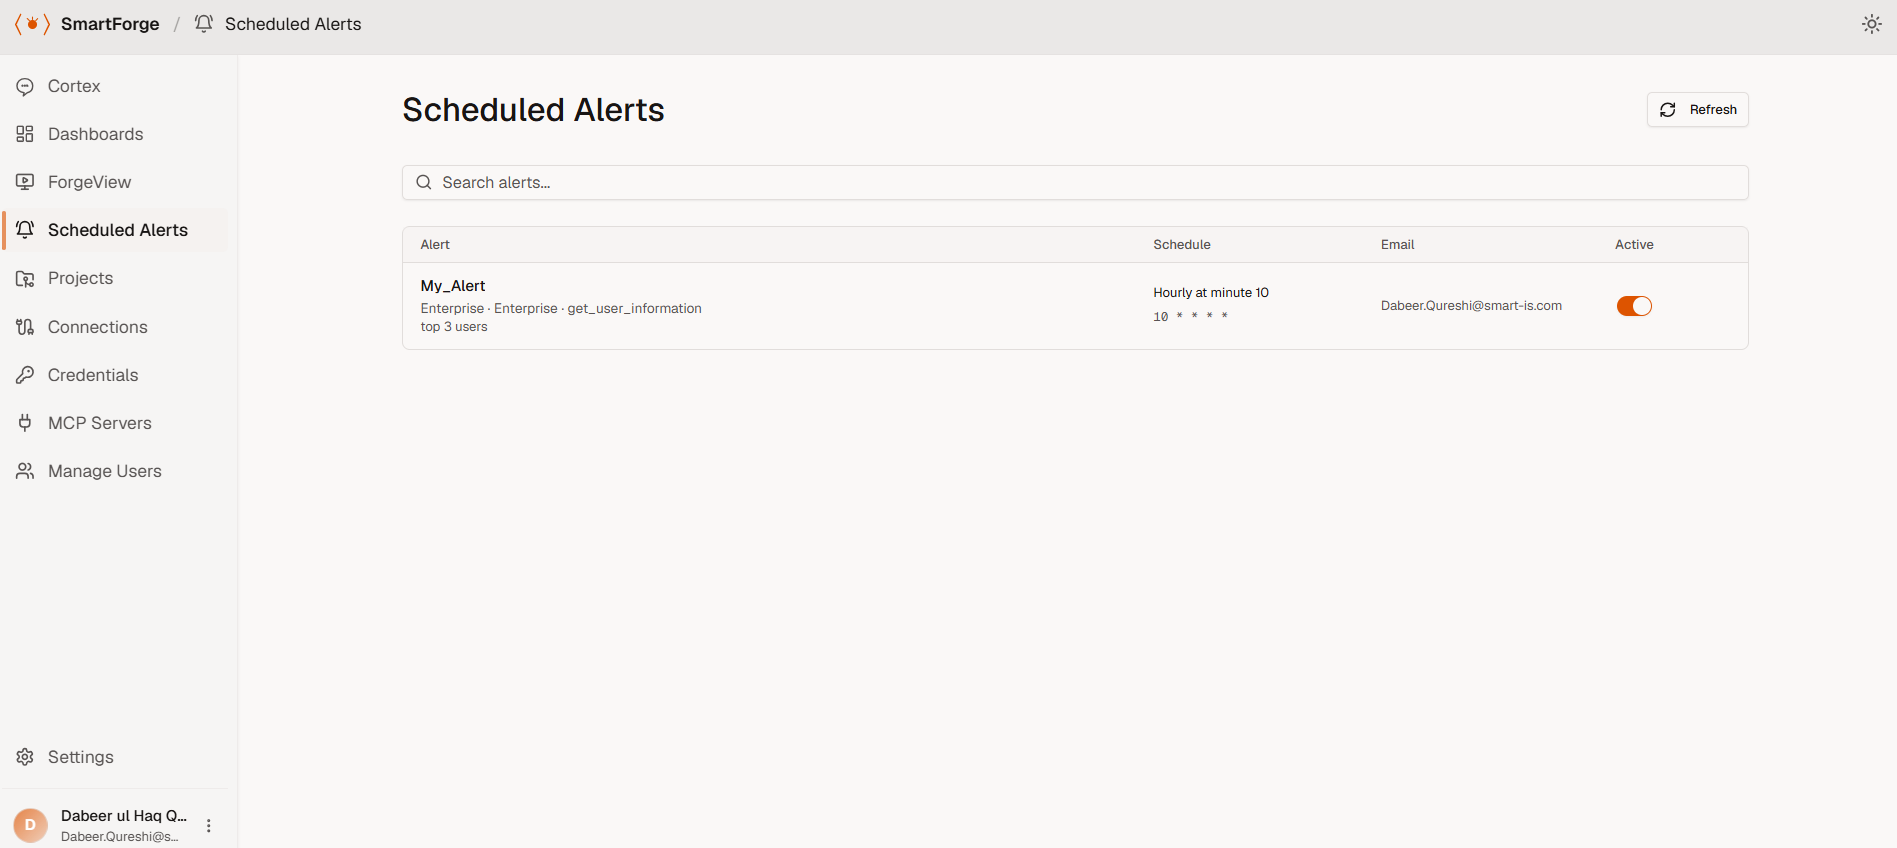
Section titled “Scheduled Alerts”SmartForge Cortex allows you to create alerts using natural language commands or through the Create Alerts button. Based on the configured settings, you will receive notifications via the provided email address. All created alerts can be viewed in the Scheduled Alerts page, where you can manage them as needed.
Example
Section titled “Example”- Open Secure Chat and connect to a system
- Use natural language to create an alert (e.g., “Email me this data daily at 10 AM”)
- Configure alert settings and provide an email address
- View all your alerts in the Scheduled Alerts page
- Manage your alerts — pause, resume, delete, or update workflows as needed
You can:
- Pause / Resume — Temporarily suspend or reactivate an alert
- Delete — Remove an alert permanently
- Update — Modify alert conditions, frequency, or notification settings